This page is to document the building of revells 1/72nd scale Panther Ausf A. The completed Panther will depict Ernst Barkmanns famous "424" in the St. Lo area of Normandy July 1944.

Monday, March 14, 2005


The tracks are finnished.


I just liked this photo.


Very happy with the way i got the links to wrap around the front drive sprocket.


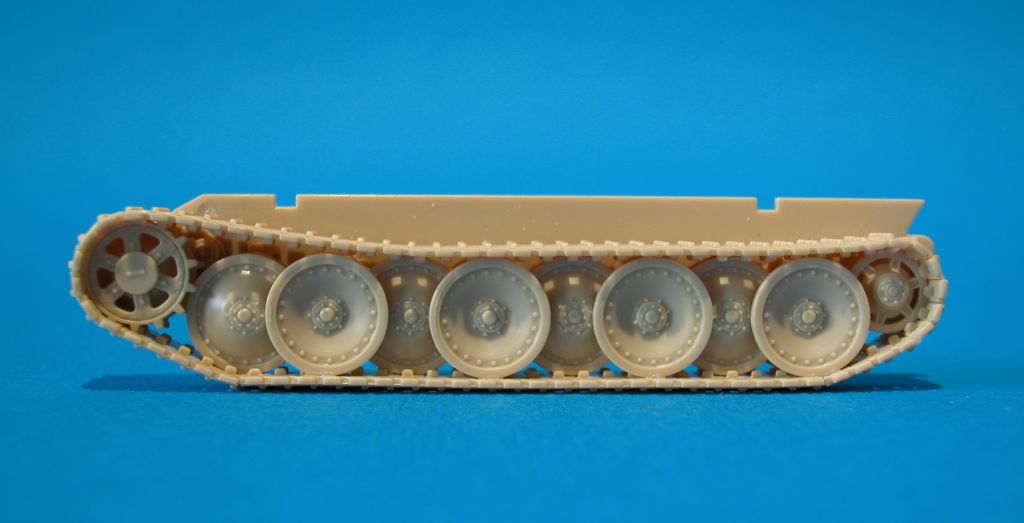
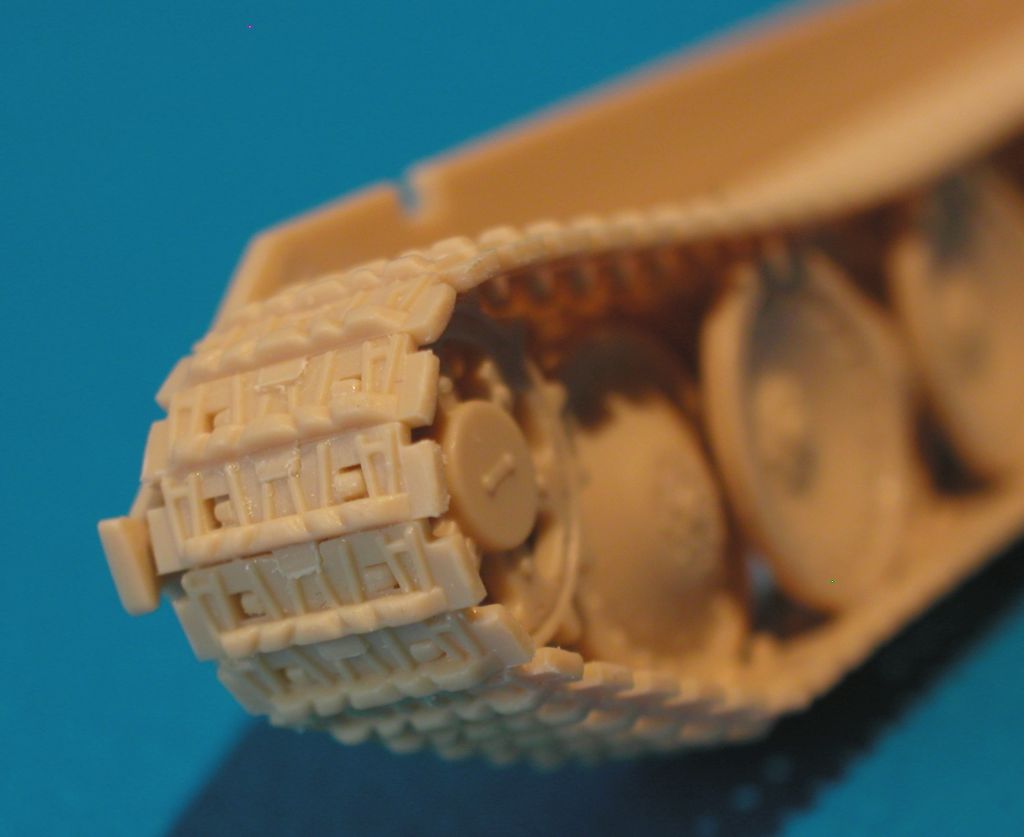
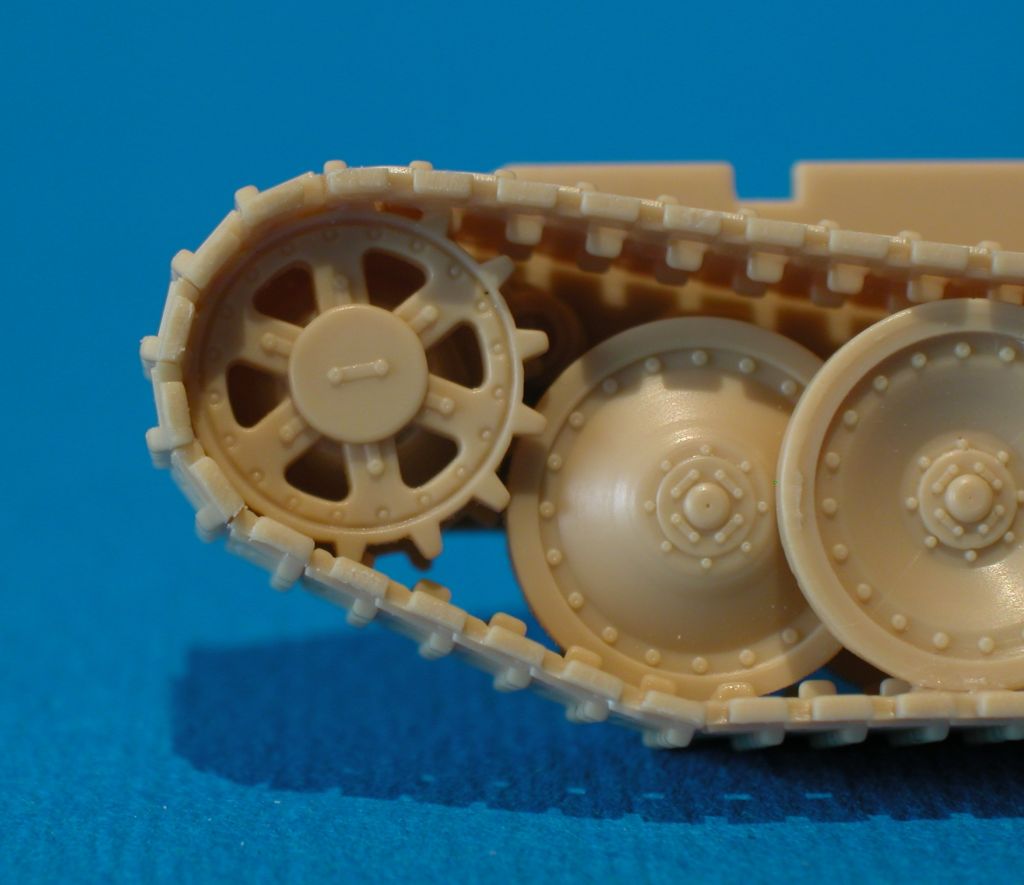
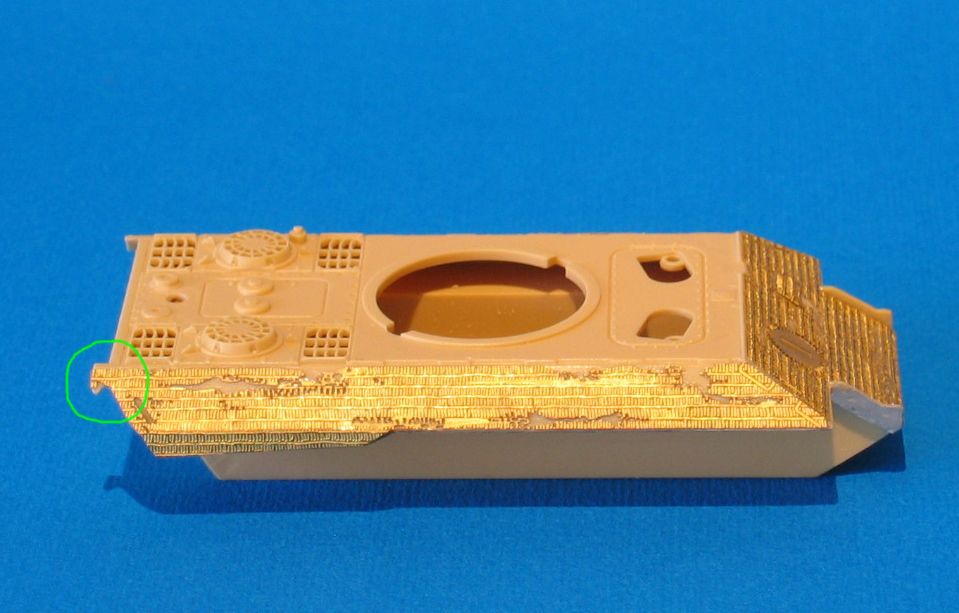
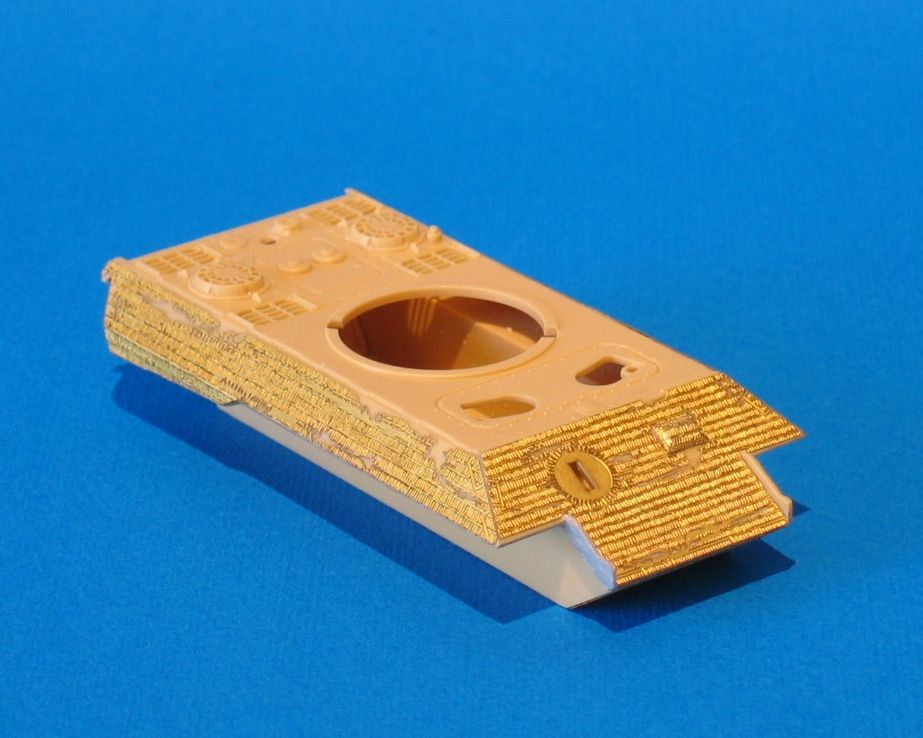
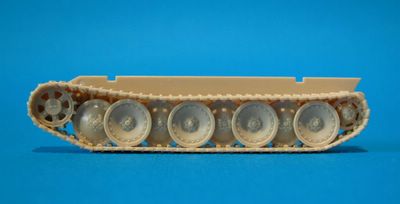
I think this is my best attempt at tracks yet, but can still see some room to improve. As per usual when you apply a realistic track sag you end up with the final link needing to be about 1/2 a link!!! So all the links on the rear idler had to be filed down about .5mm each. For the other side i just cut off the idler whell and moved it about 1/4 of a link towards the rear, this worked a treat, mental note for the next job.


All the major components stuck together with blue tack, but I'am getting close now. I think i need to add the keying marks on the bottom of the side armour plates.

Wednesday, March 09, 2005


The road wheels are all but finished. I've clamped the left and right sides together whilst the glue dries, this I hope will keep the wheels flat on the tracks, well that's the theory.

Saturday, March 05, 2005


I think I will just have to file the plastic away here to match up with the brass zim.


Here the circled areas shows where the PE zim has left me with largish gaps that need to be dealt with in some way. The major gap is on top of the gun and this one is about 2.5mm and very visible, in high insite i should have made sure the join was under the gun not on top.


Another anlgle.


In this shot the front plate and the side plate just don't quite match leaving a strip about .5mm wide. Also the notching where the front armor plate meets the side plate don't line up either?? This is out by about 2mm.


Another angle, I like the battle damage but I'm not sure how to paint it? There are three different layers of dammage, the first has the zim patern missing revealing a layer of smooth brass underneath, then there are the holes in this smooth brass layer revealing the plastic and finally we have the areas where the zim pattern is missing revealing plastic underneath any help again appreciated.


I've added the "Part" PE zimmerit Kit #3 it isn't to bad at all but there are a couple of fit issuses and I'm not sure how to solve them. Some of the other photos have the problem areas circled in green any help would be appreciated.