Monday, April 10, 2006
For the cuff band i printed up some decals using inkjet printable white decal paper. I made the cuffband in Illustrator and then Photoshop. They are very small and dam fidley little bastards to work with. In all the cuff band is just a little less than 1mm wide and about 8mm long. My printer is not very good ($50 HP cheapy) but you can still read the writing!! I'd love to print some out on a decent high quality printer. They were then set in place with Gunze Mr Mark setter and Mr Mark softer to get them to bite down. After they were on I gave the figure a quick squirt with soom matt varnish to finish off. I hope you like them.
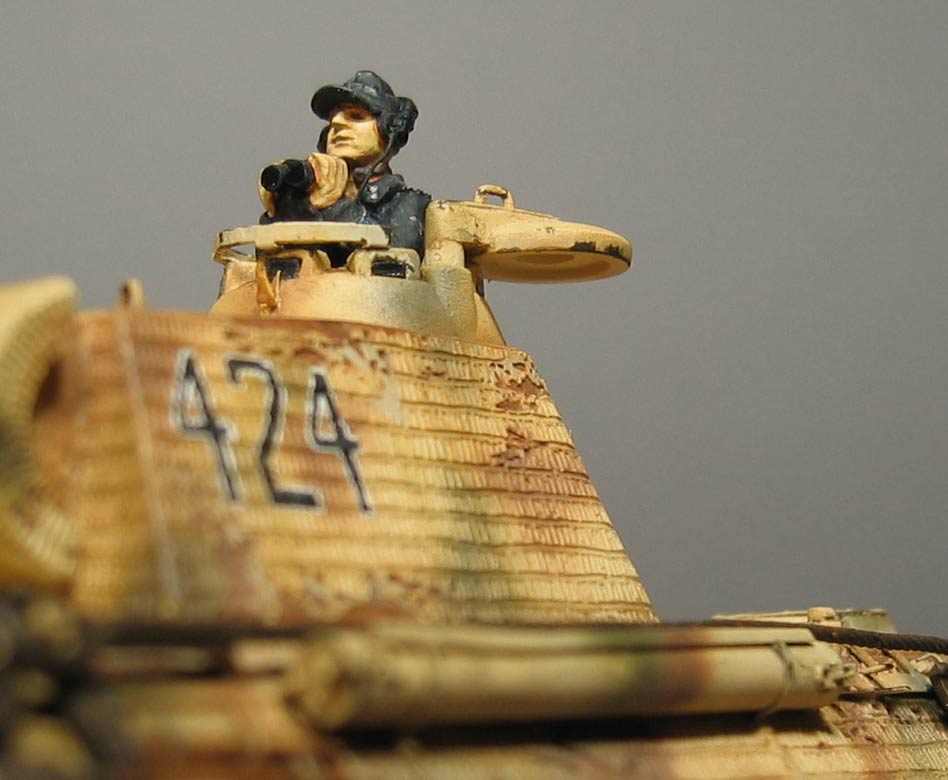
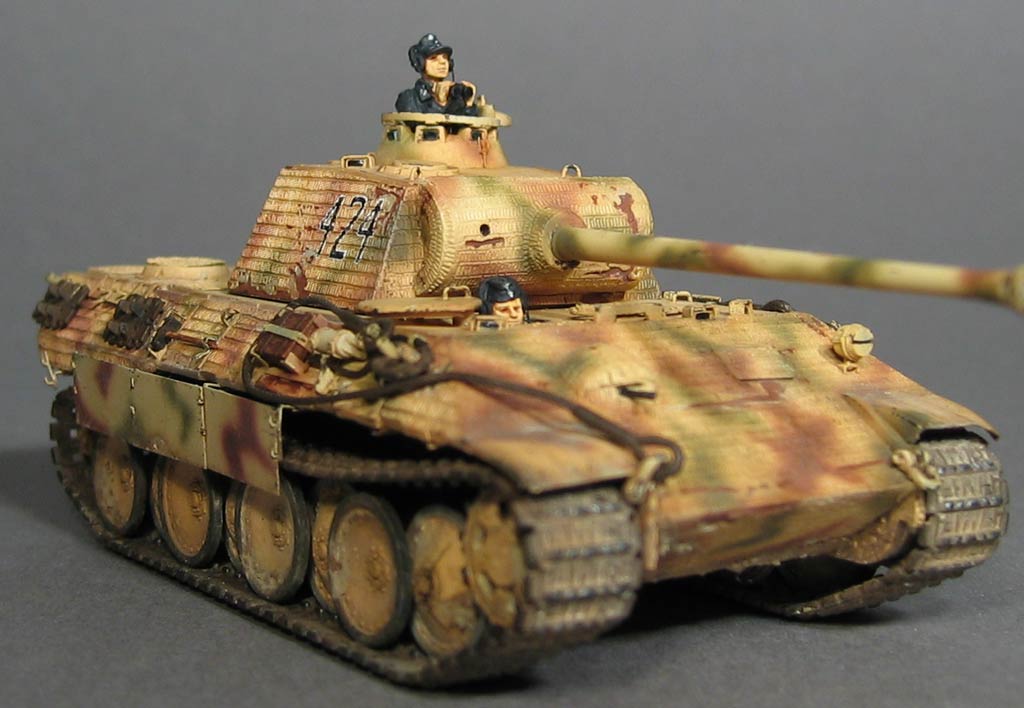
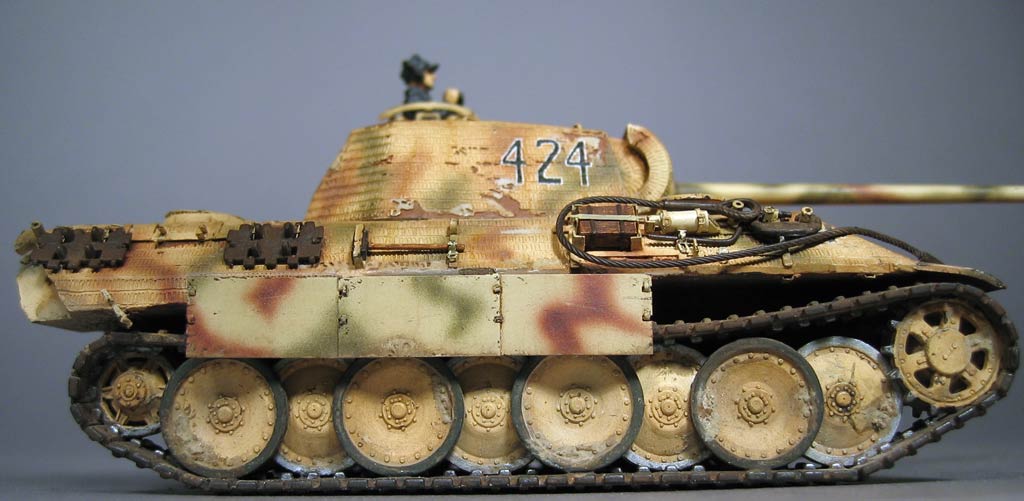
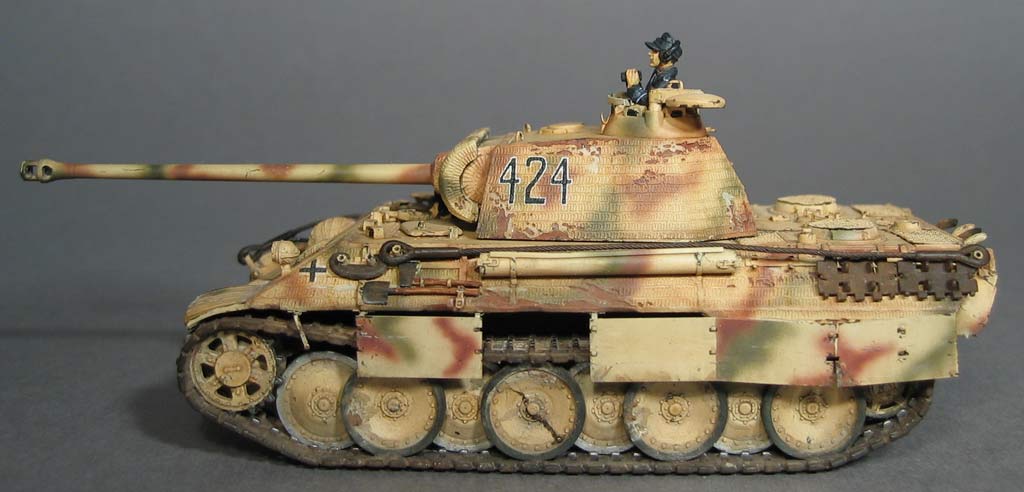
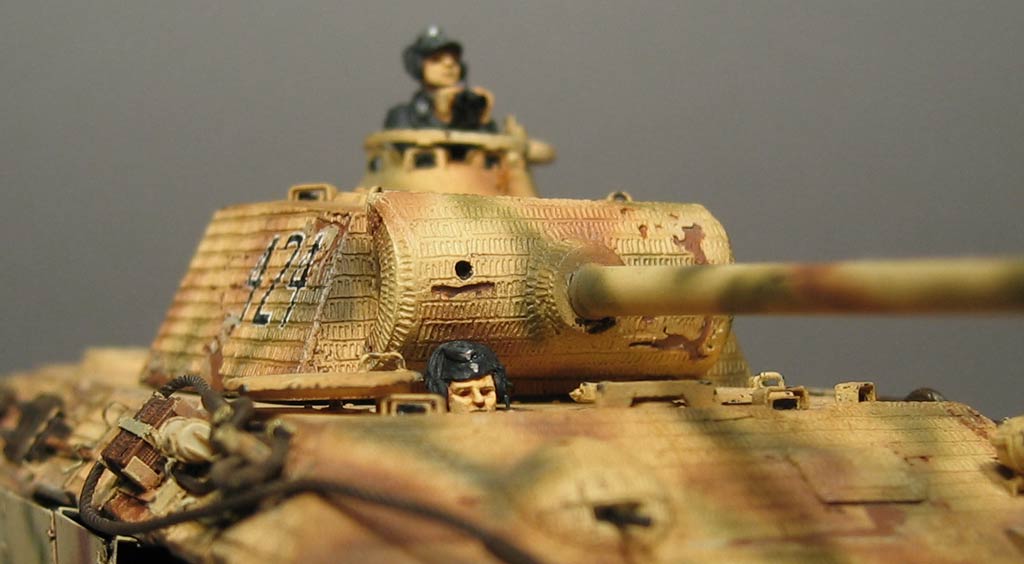
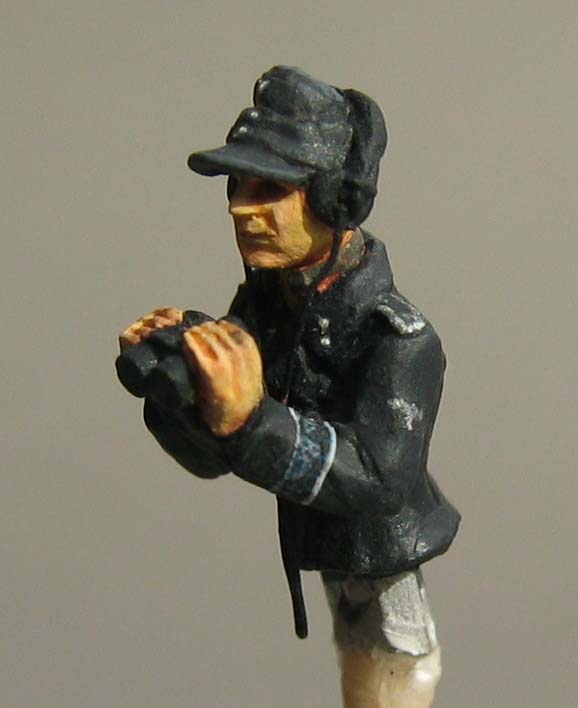
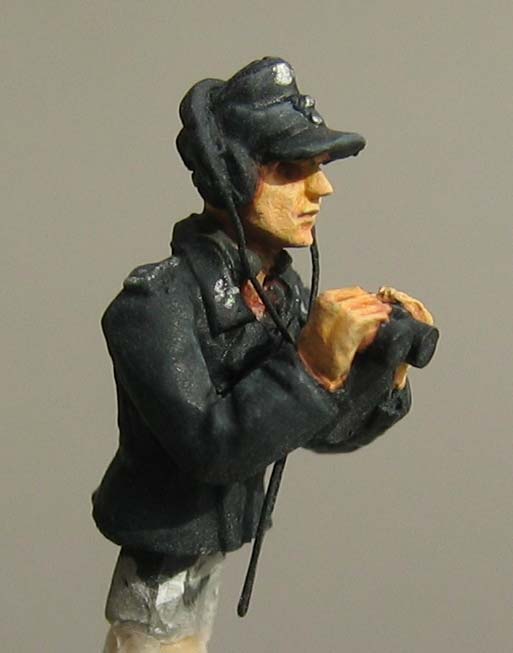
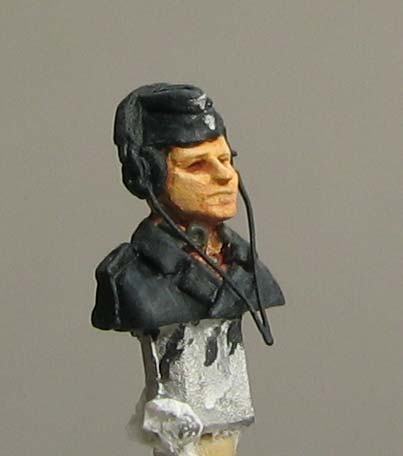
Here is Mr Barkmann himself! I�m pretty happy with how he has turned out. All I need to do is add some gloss to the lenses on the binoculars and that�s it.
He was painted entirely with Vallejo model colour acrylics. The undercoat is pure white.
Flesh tones:
Basecoat of 845 sunny skintone mixed 50/50 water and applied in 3 coats.
1st highlight was the base colour mixed 50/50 with 815 basic skintone and again cut 50/50 with water.
2nd highlight was basic skintone mixed 75/25 with white and this received a little more water maybe 33/66 paint to water.
Shadows:
1st shadow was a mix of 75% sunny skintone and 25% 814 burnt cadmium red and again cut 50/50 with water.
2nd shadow (darkest) was 25% sunny skintone to 72% burnt cadmium red mixed about 33/66 with water.
The lips where a mix of sunny skintone and 876 brown sand heavily cut with water (have a very light touch with the lips!).
Uniform:
Basecoat was mix of 66% 994 dark grey and 33% 950 black with about 25% water.
Highlight was 992 neutral grey with a tiny bit of base colour mixed 50/50 with water.
Shadow was pure 950 black cut with water 50/50.
Badges and equipment:
The badges were a mixture of Humbrol silver and a silver pencil, the headphones were painted pure black and the microphones (around the throat) painted a mixture of field grey and pure black.
The figures are now done and as I post this I'm waiting for the glue that holds them in the Panther to dry.
The figures are from the AB figures range "tank crew for hatches" (I think?) there's about 12 half figures in the set and they are all very good. This is the radio operator, I've added the cord running to his headphones from very fine copper wire.
Monday, April 03, 2006
At last nearly finished! Just a bit more mucking around with some pigments and then that's it. I've picked out 2 crew figures, one for Mr Barkmann himself and the other for the radio operator, the drivers hatch will be closed. I've chosen some AB figures for the crew and they look great. The weathering to this point: a light overall wash of burnt umber oil paint then a few days latter some pin washes around selected details of burnt umber and a little bit of black. I then mixed up another oil paint wash of raw siena with a tiny hint of humbrol signal red and added, sparingly, some rust spots and streaks (they are very faint but subtlely change the appearance) I did the same with a raw umber wash too. Next came the paint chips using Vallejo model colour 822 German camoflage black-brown and Vallejo model colour 976 buff, I find buff works well as a minor (not to bare metal scratch) on dark yellow paint jobs. I use these straight from the bottle their oppacity is fantastic. I didn't like the tracks so after the paint chips i repainted the tracks Tamiya NATO black and mixed up some MIG pigments dark mud with some matt varnish and thinner (a very runny mix) and painted this on the tracks, working about 3cm at a time, and wiping most of it off with some paper towel. I also applied this under the sponsons, up the superstructure side and to the underside of the tank. I'll explain the mud and dust (still to come) on my next post.